
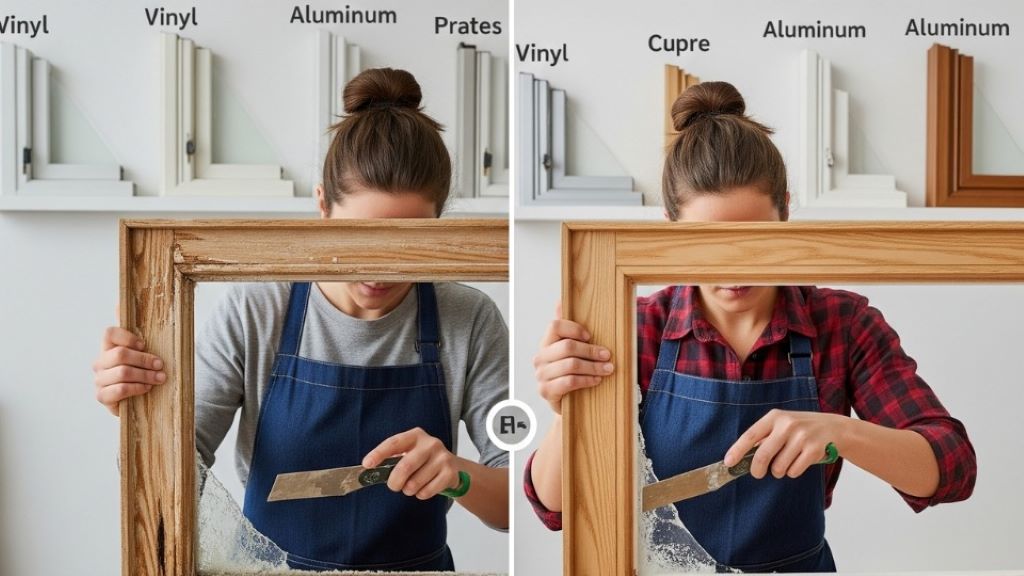
A damaged door jamb corner can make your entire doorway look worn and unprofessional. Whether the damage comes from moving furniture, years of wear, or accidental impacts, fixing this issue is easier than you might think. At House I Love, we believe that every homeowner can tackle this repair with the right guidance and tools.
Door jamb corners are particularly vulnerable to damage because they bear the brunt of daily use. When hinges loosen or doors slam repeatedly, these corners can split, crack, or chip away entirely. The good news is that replacing a damaged corner doesn’t require professional expertise or expensive tools.
Understanding the anatomy of your door jamb helps you approach this repair with confidence. Most residential doors use wooden jambs that consist of three main pieces: two side jambs and one header jamb. The corners where these pieces meet are typically joined with simple butt joints or miter cuts.
Assessing the Damage
Before starting any repair work, examine the extent of the damage carefully. Minor chips and cracks might only need wood filler and sanding. However, significant splits or missing chunks require more extensive repairs or complete corner replacement.
Look for signs of water damage, rot, or insect infestation around the damaged area. These issues need addressing before you install new materials. Check if the damage affects the door’s operation or creates gaps that compromise security or energy efficiency.
Take measurements of the damaged section and photograph the area from multiple angles. These references will help you when purchasing materials and planning your repair approach.
Tools and Materials You’ll Need
Gathering the right supplies beforehand saves time and ensures better results. Most hardware stores carry everything you need for this project.
Essential tools include:
- Measuring tape
- Pencil for marking
- Handsaw or miter saw
- Chisel set
- Hammer
- Drill with bits
- Sandpaper (120 and 220 grit)
- Safety glasses and gloves
Required materials typically include:
- Replacement wood matching your existing jamb
- Wood screws (2.5 to 3 inches)
- Wood glue
- Wood filler
- Primer and paint to match existing finish
Choose replacement wood that matches your current door jamb material and thickness. Pine and poplar are common choices for interior doors, while exterior installations often use treated lumber or hardwood species.
Step-by-Step Replacement Process
Start by removing any loose or damaged wood from the corner area. Use a chisel to clean out splintered sections and create clean edges for your repair. This preparation work determines how well your new piece will fit and bond.
Measure the gap where your new corner piece will go. Cut your replacement wood slightly larger than needed, allowing room for fine adjustments. Most door jamb corners require pieces between 6 to 12 inches long, depending on the damage extent.
Test fit your new piece before applying any adhesive. The replacement should sit flush with existing surfaces and align properly with the door jamb profile. Make small adjustments with sandpaper or your chisel as needed.
Apply wood glue to both the replacement piece and the existing jamb surfaces. Position the new corner carefully and clamp it in place. Wipe away excess glue immediately with a damp cloth to prevent finishing problems later.
Securing and Finishing the Repair
Once the glue sets for about 30 minutes, reinforce the joint with wood screws. Pre-drill holes to prevent splitting, especially near the edges of your repair piece. Countersink the screws slightly below the surface so you can fill the holes later.
Allow the glue to cure completely according to manufacturer instructions before proceeding with finishing work. This usually takes 24 hours for maximum strength.
Sand the entire repair area starting with 120-grit sandpaper to blend the new piece with existing surfaces. Progress to 220-grit paper for a smooth finish that will take paint or stain evenly.
Fill any gaps, nail holes, or imperfections with wood filler matched to your door jamb color. Allow the filler to dry completely, then sand smooth. Multiple thin applications work better than one thick coat.
Painting and Final Touches
Prime the repaired area with a high-quality wood primer, especially if you’re painting over raw wood or filler. This step ensures even color coverage and better paint adhesion.
Apply paint or stain to match your existing door jamb finish. Use thin, even coats and allow proper drying time between applications. Most projects require two finish coats for optimal appearance and protection.
Check the door operation after completing your repair. The door should open and close smoothly without binding or gaps. Make minor adjustments to hinges or catches if necessary.
Preventing Future Damage
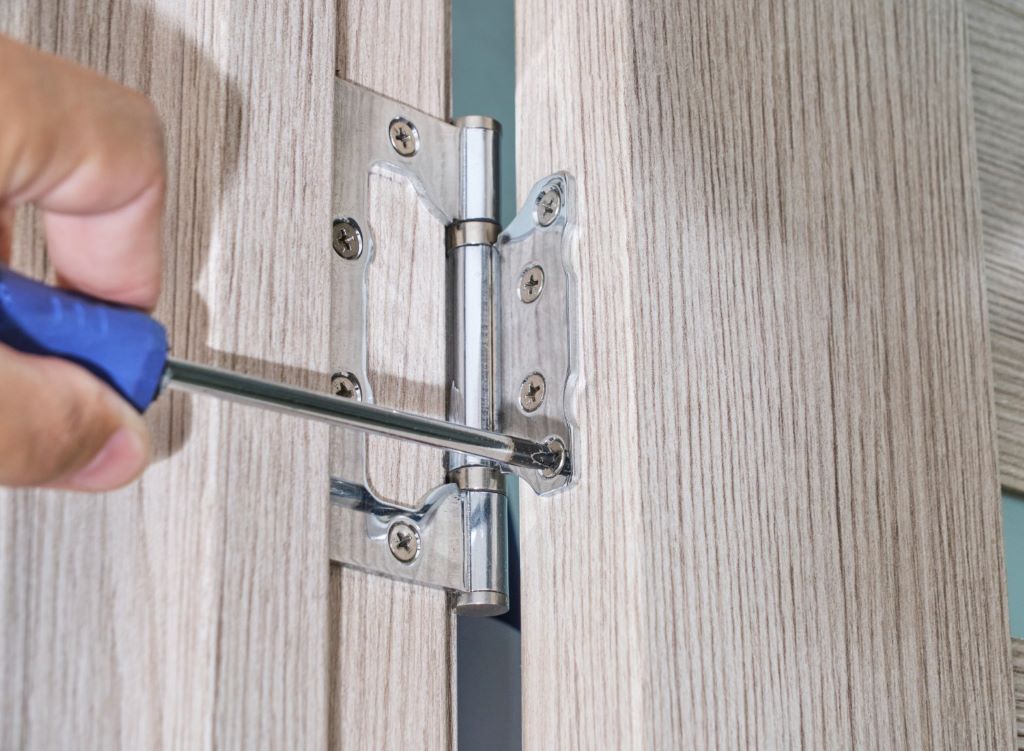
Regular maintenance prevents most door jamb corner damage. Check hinge screws periodically and tighten them before they work loose. Loose hinges cause doors to sag and stress the jamb corners.
Install door stops or soft-close mechanisms if your doors tend to slam shut. These simple additions protect both the door jamb and the door itself from impact damage.
Consider upgrading to stronger materials in high-traffic areas. Hardwood jambs or metal reinforcements provide better durability than standard pine construction.
Keep door jambs clean and dry to prevent rot and insect damage. Address any moisture issues promptly, especially around exterior doors where weather exposure is constant.
When to Call a Professional
Some door jamb repairs exceed typical DIY capabilities. Structural damage affecting the wall framing requires professional assessment and repair. Similarly, extensive rot or insect damage might need complete door frame replacement.
Consider professional help if your door jamb connects to load-bearing elements or if you’re uncomfortable with power tools. Safety should always take priority over cost savings.
Historic homes or custom millwork often require specialized repair techniques or materials. Professional restoration specialists have experience matching unique profiles and finishes that maintain historical accuracy.
Conclusion
Replacing a damaged door jamb corner is a manageable DIY project that can significantly improve your doorway’s appearance and function. With proper preparation, quality materials, and attention to detail, you can achieve professional-looking results while saving money on contractor fees.
The key to success lies in careful assessment, precise measurements, and patience during the repair process. Take time to match materials properly and allow adequate curing time for adhesives and finishes.
Remember that this repair not only improves aesthetics but also maintains your door’s security and energy efficiency. A properly fitted door jamb corner ensures your door operates smoothly for years to come.
Frequently Asked Questions
How long does it take to replace a door jamb corner? Most repairs take 2-3 days when accounting for glue curing time and multiple paint coats. The actual work time is typically 3-4 hours spread across several days.
Can I use different wood species for the repair? Yes, but choose wood with similar hardness and grain patterns. Pine, poplar, and fir work well for most interior applications. Paint-grade repairs offer more flexibility in wood selection.
What if the damage extends into the wall? Damage affecting the wall structure requires more extensive repair. You may need to remove drywall and possibly rebuild part of the rough opening before installing new jamb materials.
How much does this repair typically cost? DIY repairs usually cost $20-50 for materials, depending on wood quality and finish requirements. Professional repairs can range from $150-400 depending on damage extent and local labor rates.
Should I replace the entire door jamb or just the corner? Replace only the damaged section unless the entire jamb shows significant wear, rot, or structural issues. Partial repairs are more cost-effective and maintain the integrity of properly functioning sections.
Read More:
Banishing Bathroom Ceiling Mold: Removal & Prevention


